Direkt zum Inhalt

Difference Between Polishing and Buffing: A Beginner-Friendly Guide to a Perfect Finish
If you’ve ever worked with metal, wood, or even car surfaces, you’ve probably heard of polishing and buffing.
At first glance, they seem like the same thing — both make surfaces smooth and shiny.
But here’s the truth: polishing and buffing are two different steps in the finishing process, and understanding how they work will completely change the quality of your results.
In this beginner-friendly guide, we’ll break down what each process does, when to use them, what tools you need, and how to avoid the most common mistakes.
What Is Polishing?
1. The Purpose of Polishing
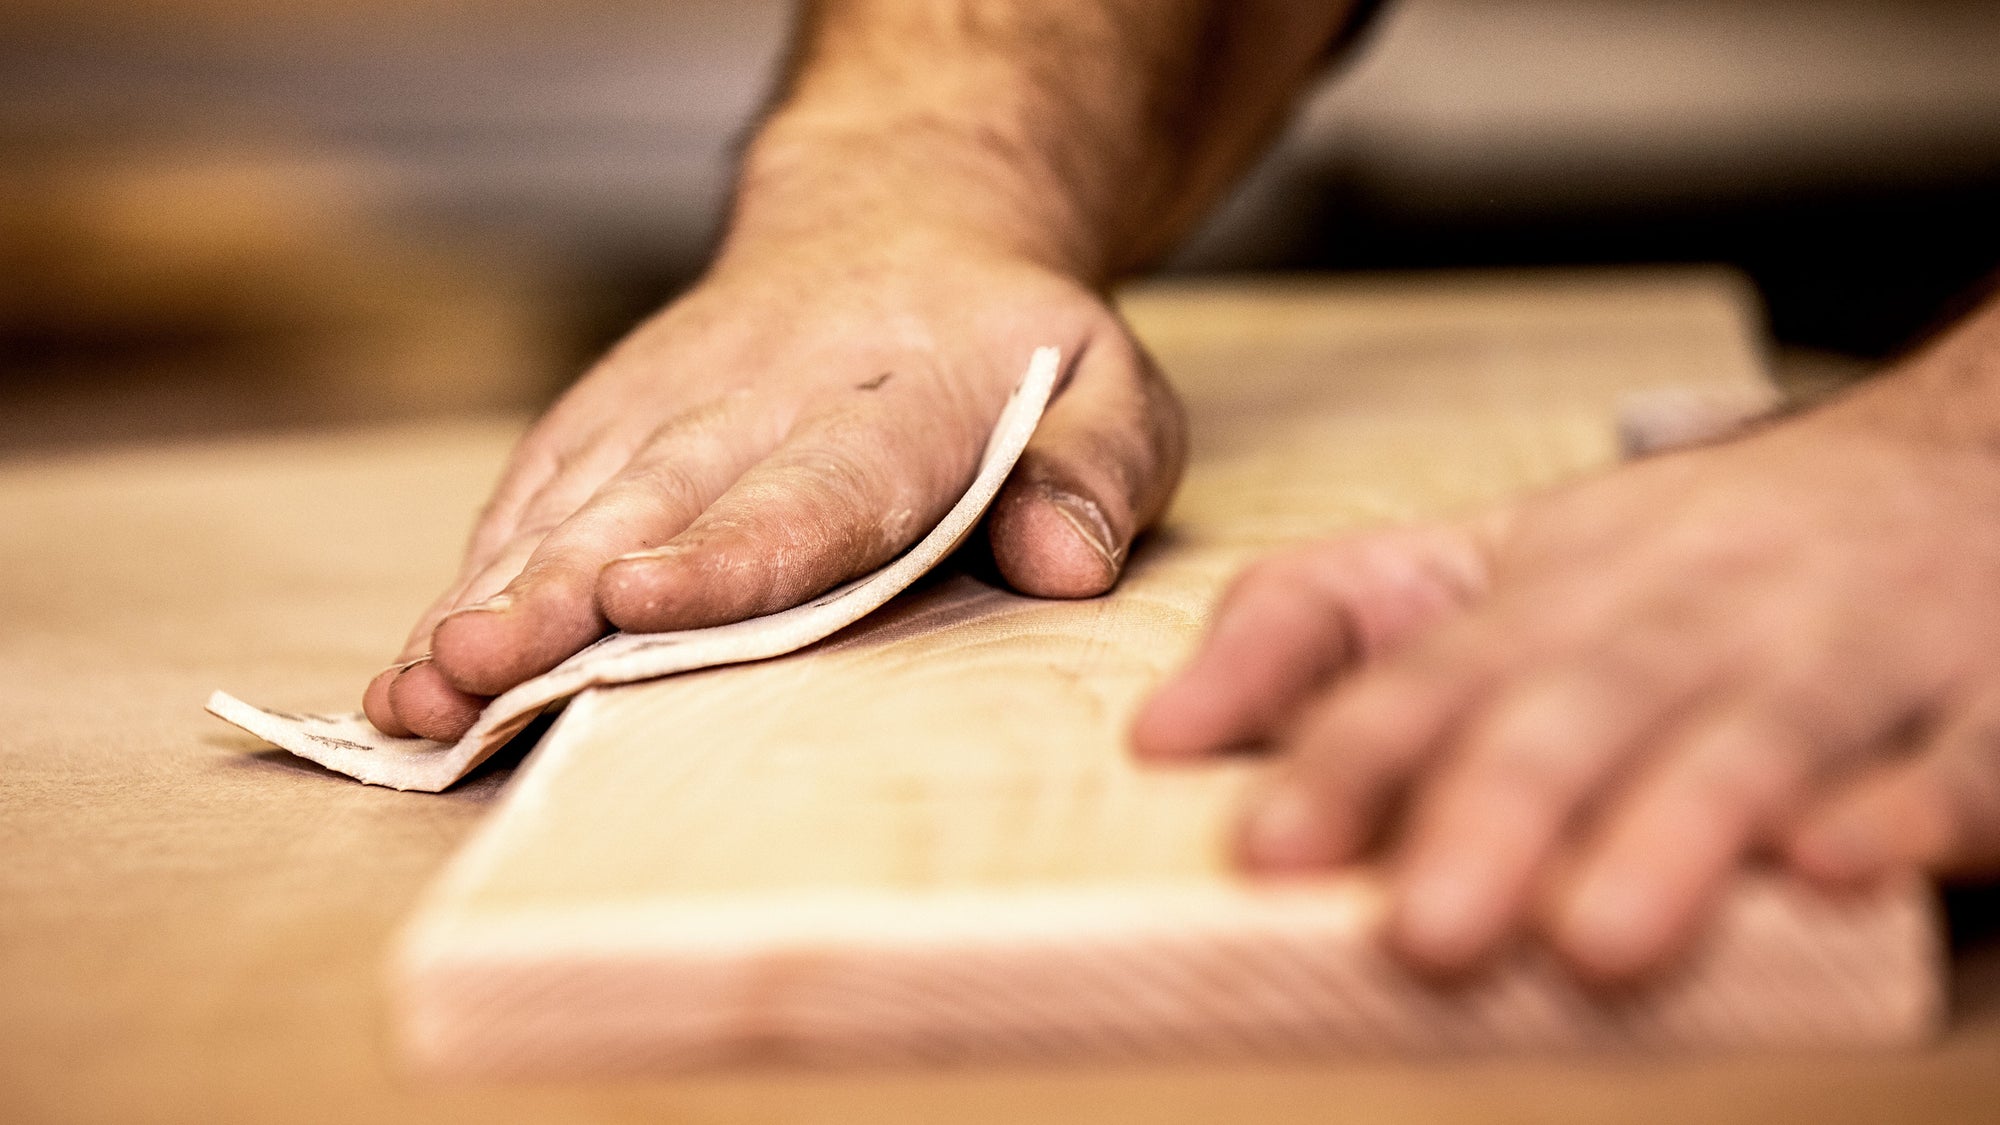
Polishing is the process of smoothing a surface by removing imperfections — such as scratches, oxidation, or uneven texture.
Think of it as “preparing the canvas” before you add the final shine. Without polishing, the surface will never reflect light evenly, no matter how much you buff later.
Polishing focuses on correction. You’re not trying to make it shiny yet — you’re trying to make it flat and clean.
2. How Polishing Works (Step by Step)
Step 1: Choose the Right Sandpaper Grit
The grit number tells you how rough or smooth the abrasive is. Lower numbers are coarser, higher numbers are finer.
-
For deep scratches or rust → start with P400–P800.
-
For light imperfections → use P1000–P2000.
Step 2: Use the Right Tool
While you can polish by hand, beginners will get better, more consistent results with an orbital sander (also called a DA sander).
It moves in small, random circles to prevent swirl marks.
-
Attach your sandpaper disc using the hook & loop pad.
-
Apply light, even pressure — let the tool do the work.
-
Move slowly and overlap your strokes slightly.
Step 3: Check the Surface Regularly
Wipe away dust with a clean cloth and observe the surface.
If it looks smooth and evenly matte (no visible scratches or oxidation), you’ve finished polishing and can move on to buffing.
3. What You’ll See After Polishing
The surface should look smooth but not shiny yet — more like a soft, satin finish. That’s completely normal.
Polishing prepares the surface for the final stage: buffing.
What Is Buffing?
1. The Purpose of Buffing
Buffing is all about bringing out the shine.
After polishing removes the imperfections, buffing smooths the microscopic surface lines even further until light reflects evenly — creating a glossy, mirror-like finish.
If polishing is like sanding a wall before painting, buffing is applying the glossy topcoat.
2. Tools and Materials for Buffing
-
Buffing wheel or foam buffing pad (soft materials for final shine)
-
Buffing compound or polishing compound (the “cream” or “paste” that contains ultra-fine abrasives)
-
Drill or rotary tool to spin the buffing pad
A beginner-friendly option is a mini drill buffing kit, which easily attaches to a standard household drill.
3. How to Buff Properly
-
Apply a small amount of buffing compound to the pad or wheel.
-
Spin the tool at low-to-medium speed.
-
Gently press the pad against the surface — not too hard, just enough to make contact.
-
Move slowly in overlapping motions.
-
Wipe off residue and check the reflection.
You’ll start to see the surface go from dull to glossy. If you can see your reflection clearly, congratulations — you’ve done it right!
4. The Result of Buffing
The difference is dramatic.
A properly buffed surface looks bright, reflective, and professional — whether it’s a stainless steel sink, a wooden tabletop, or a car hood.
In short:
Polishing = smoothness.
Buffing = shine.
Polishing vs Buffing — The Key Differences
| Feature | Polishing | Buffing |
|---|---|---|
| Purpose | Removes scratches and defects | Adds shine and clarity |
| Tools Used | Sandpaper, polishing pads | Buffing wheels, foam pads |
| Abrasive Type | Fine grit (P400–P2000) | Ultra-fine or none |
| Surface Result | Smooth, matte finish | Glossy, mirror-like finish |
| Stage in Process | First | Final |
When Should You Polish or Buff?
Here’s a simple rule of thumb:
-
If the surface feels rough, scratched, or oxidized → Start with polishing.
-
If the surface already feels smooth but looks dull → Go straight to buffing.
-
For the best results → Combine both.
💡 Example:
If you’re restoring a car headlight or a metal tool:
-
Polish first using fine-grit silicon carbide sandpaper.
-
Then buff with a foam pad and finishing compound for a mirror finish.
Common Mistakes Beginners Should Avoid
-
Skipping the polishing step — You can’t buff out deep scratches.
-
Jumping between grit sizes too fast — Always move gradually (e.g., P800 → P1200 → P2000).
-
Using too much compound — A little goes a long way. Excess compound only makes a mess.
-
Pressing too hard — Pressure causes swirl marks or burns the surface.
-
Not cleaning between steps — Leftover grit can scratch the surface again.
Always wipe clean with a microfiber cloth before switching to a finer abrasive or starting buffing.
Recommended Starter Kit for Beginners
If you’re new to polishing and buffing, here’s a simple beginner’s setup:
-
5" Hook & Loop Silicon Carbide Sanding Discs (P400–P2000) – For flattening and surface prep.
-
Mini Polishing Pad Set / Foam Buffing Pads – For final shine and gloss.
-
Drill Polishing Kit – Fits any household drill for easy buffing.
Quick Recap: Polishing vs Buffing
| Step | Goal | Tools | Result |
|---|---|---|---|
| Polishing | Remove defects | Sandpaper / Polishing pad | Smooth surface |
| Buffing | Add brilliance | Buffing wheel / Foam pad | Mirror finish |
Conclusion
Polishing and buffing might look similar, but they serve different purposes in the finishing process.
Polishing smooths out the surface, while buffing brings out the shine.
When combined correctly, they transform dull, rough surfaces into stunning, mirror-like finishes.
The best part? You don’t need to be a professional to get great results.
With the right abrasives and a bit of patience, any beginner can achieve a professional-grade finish.
Start small, choose the right tools, and let Abrasives Master guide you to your best finish yet.
Continue Reading
When Sandpaper Smooths A Piece Of Wood?