Salta al contenuto

How to Polish Rocks at Home – Easy Step-by-Step Guide for Beginners
Ever wondered how to turn an ordinary stone into something smooth, shiny, and beautiful? Rock polishing is a fun hobby for all ages—and yes, you can absolutely do it at home, even if you’ve never done it before.
In this guide, we’ll walk you through everything step by step, explain what tools to use, what mistakes to avoid, and how to get great results using just sandpaper and water. No expensive machines needed!
What Kind of Rocks Can You Polish?
Before you start, it’s important to choose the right type of rock.
Best rocks for polishing:
-
Quartz
-
Agate
-
Jasper
-
Obsidian
-
River stones (naturally smooth ones)
Avoid:
-
Very soft stones (chalk, sandstone)
-
Layered rocks that break easily
-
Anything flaky or crumbly
Tip for beginners: Start with small, hard rocks that are already rounded. They’re much easier to polish and give better results.
What Tools Do You Need?
You don’t need a tumbler to get great results. Here’s a simple hand-polishing kit:
-
A few clean rocks
-
A bowl of water
-
A towel or old rag
-
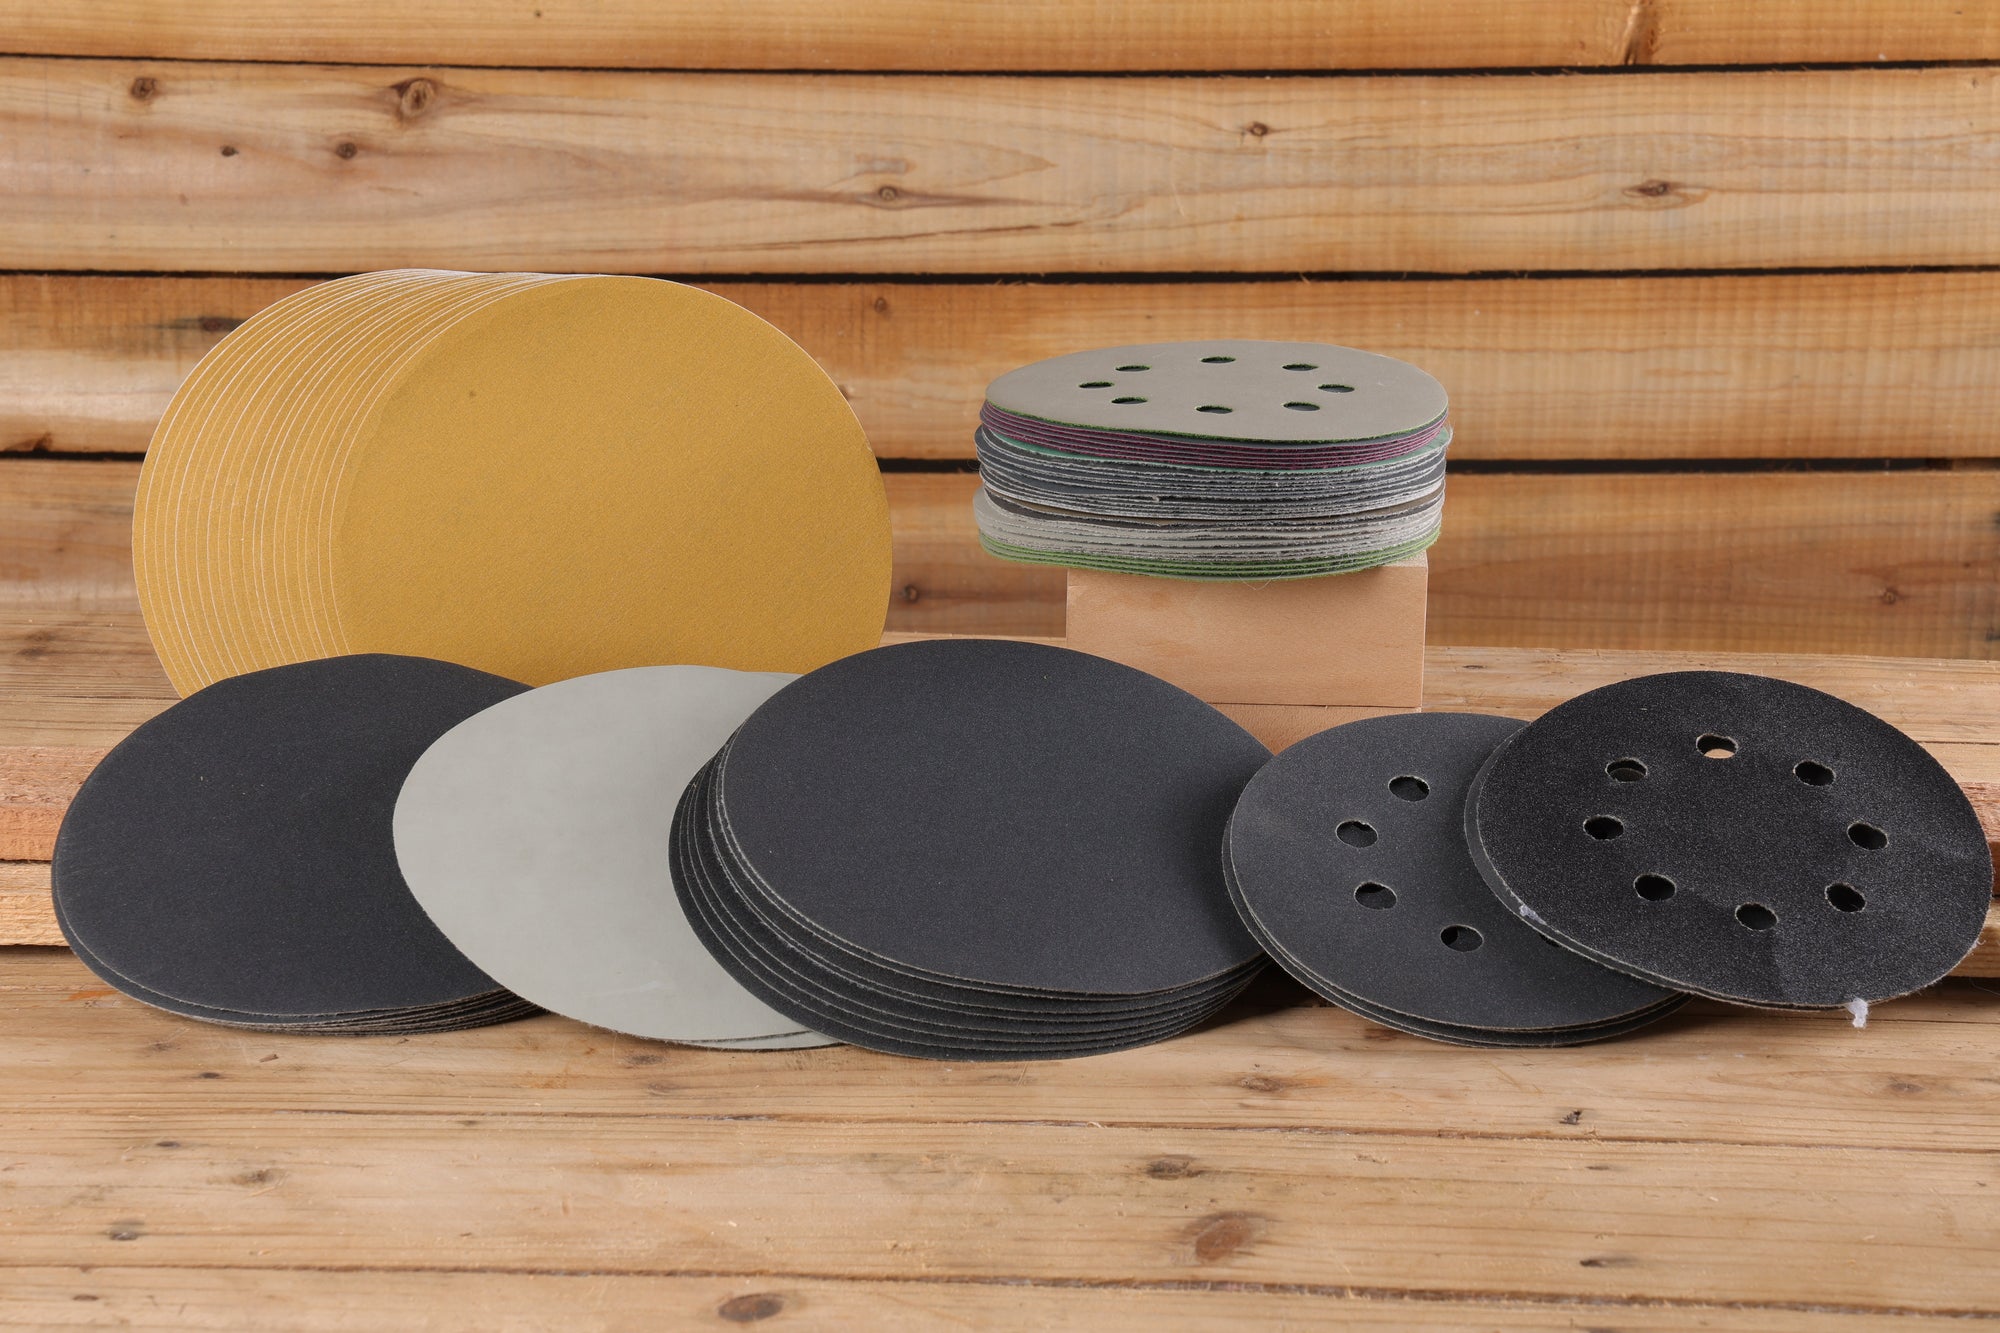
Sandpaper in multiple grits (example: 80, 150, 320, 600, 1000, 2000, 3000 grit)
-
Optional: polishing compound or even white toothpaste
Step-by-Step Rock Polishing Instructions
Step 1: Wash Your Rock
Use warm water and an old toothbrush to remove dirt. Let it dry, then inspect for cracks or weak spots.
Beginner tip: A dirty rock can scratch itself during sanding. Always clean thoroughly.
Step 2: Shape with Coarse Grit (80–150 grit)
Start with coarse sandpaper to smooth out sharp edges and shape your rock.
-
Wet both the rock and sandpaper slightly.
-
Rub the stone in small circles or back and forth.
-
Turn it often to keep the shape even.
-
This step may take 10–15 minutes depending on how rough the rock is.
✅ You’re done when all major bumps and rough spots are gone.
Step 3: Smooth with Medium Grit (320–600 grit)
Now move on to medium grit to erase scratches and make the surface feel smoother.
-
Keep water nearby to rinse the rock and paper regularly.
-
Check often under good lighting.
-
Use consistent pressure; don’t rush.
Step 4: Refine with Fine Grit (1000–2000 grit)
This stage is where the stone begins to look polished. It should feel like a smooth pebble now.
-
You don’t need to apply hard pressure—just steady rubbing
-
Keep everything wet to avoid dust and friction
-
Rinse between grit changes
Step 5: Shine with Extra Fine Grit (3000+ grit or polishing cloth)
Use the finest grit to bring out the natural luster.
-
Wipe dry and examine under light—it should have a soft glow
-
For more shine, add a drop of polishing compound or even toothpaste, then buff with a microfiber cloth
Congratulations! You’ve transformed a dull rock into something smooth, beautiful, and handmade.
Extra Tips for First-Timers
-
Don’t skip grits. Each level builds on the last. Jumping ahead leads to visible scratches.
-
Use fresh sandpaper. If it feels dull, swap it. Worn paper slows you down.
-
Label your sandpaper. It’s easy to confuse grits. We include grit markings on our sheets for easy use.
-
Protect your hands. If sanding for long, consider wearing gloves.
Final Thoughts
Polishing rocks is a relaxing, hands-on hobby that doesn’t require fancy tools—just patience, a few basic materials, and the right sandpaper. It’s also a great screen-free activity to enjoy with kids or friends.
Whether you’re making jewelry, decorating your home, or just exploring nature’s textures, there’s something satisfying about revealing the natural shine inside every stone.
Ready to try it yourself?
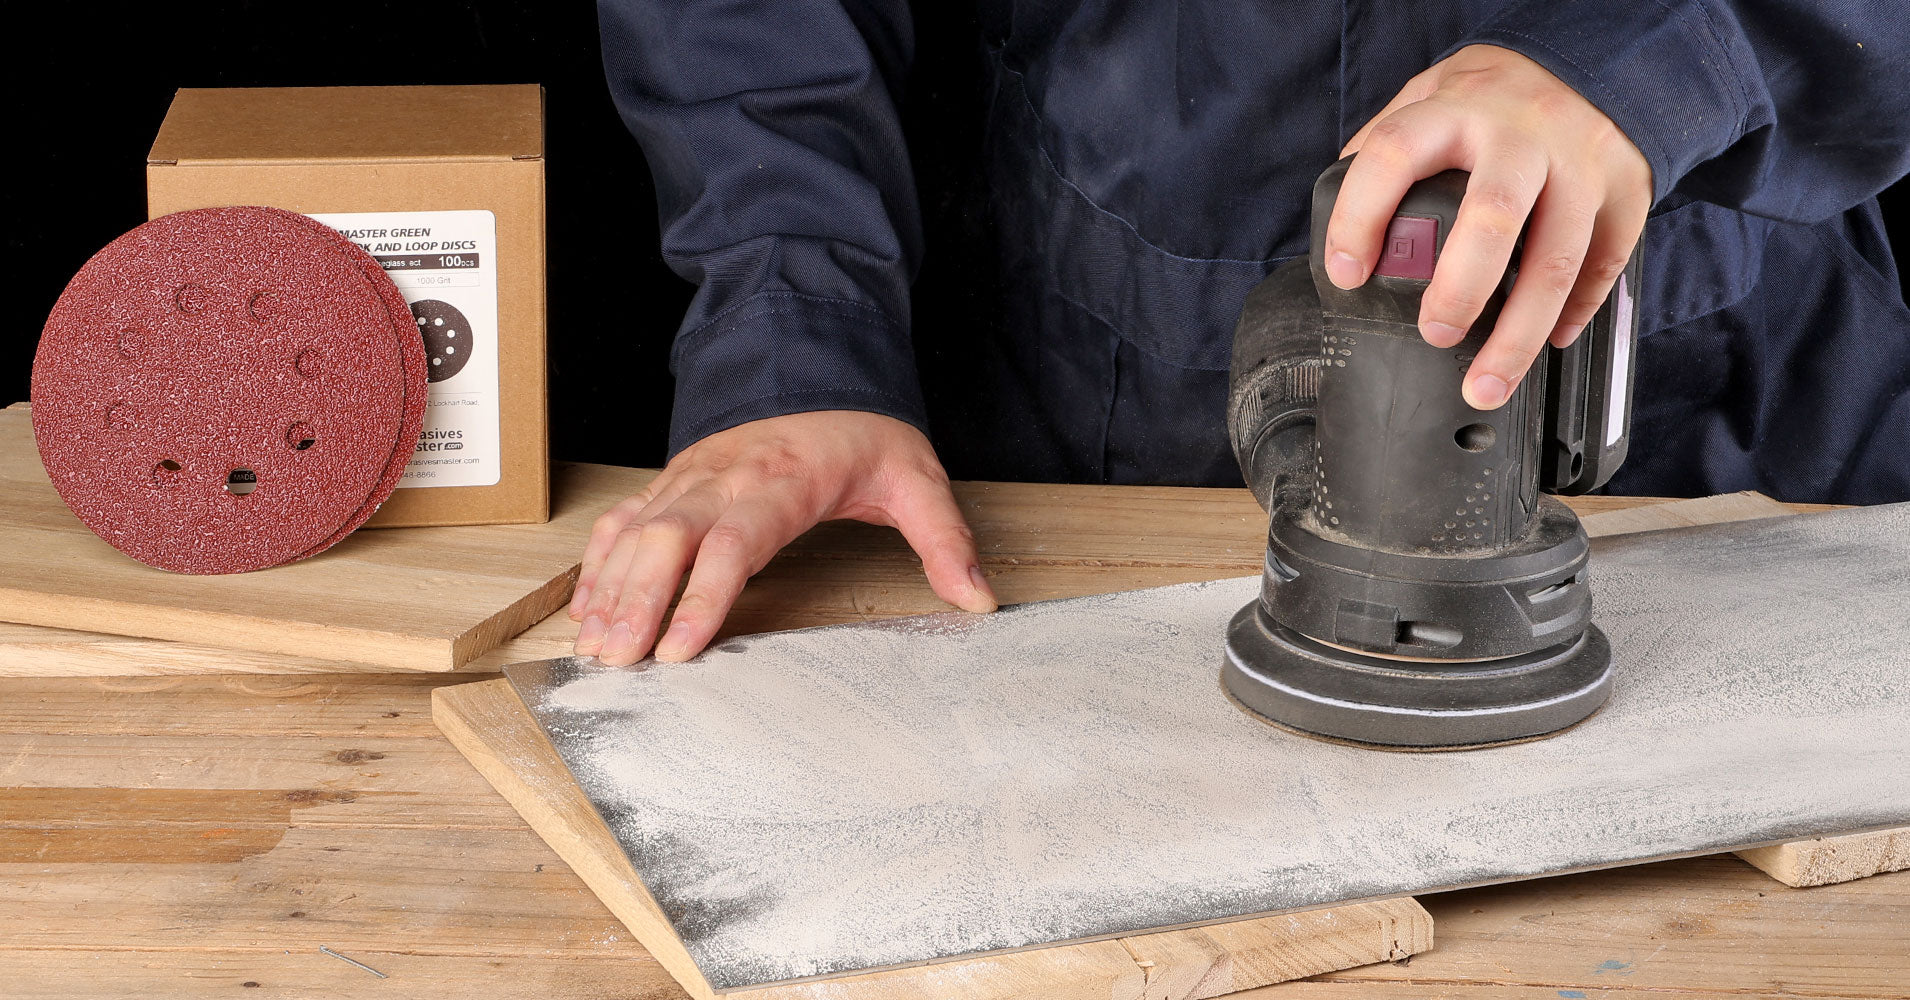
Check out our full selection of sandpaper kits, perfect for rock polishing, woodworking, and more.
All beginner-friendly. All high quality. All ready to ship.
Continue Reading
How to Use an Orbital Sander: The 2025 Ultimate Guide for Beginners