Salta al contenuto

Refinishing Hardwood Floors for Beginners

Hardwood floors are one of the most beautiful features in a home—but over time, they lose their shine. If your floor is covered in scratches, looks dull, or has uneven patches, you don’t need to replace it. With a bit of time and the right tools, you can refinish your hardwood floors and bring them back to life.
This guide will walk you through everything—how to assess your floor, which tools to prepare, and how to sand, clean, and refinish step by step. Whether you're a complete beginner or just looking for a practical checklist, this article is here to help.
Why Refinish Instead of Replace?
Installing new hardwood flooring can cost $8–$15 per square foot, not including labor. Refinishing, on the other hand, is far more budget-friendly—especially if you DIY.
Even better: refinishing keeps the original wood’s character, charm, and warmth while making it look brand new again.
Is Your Floor Refinishable?
Before starting, check if your floor can handle the refinishing process:
-
Solid hardwood? Most types can be refinished multiple times.
-
Engineered wood? If the top veneer is at least 2mm thick, it's often safe to refinish once.
-
Severe damage? Warped, waterlogged, or rotting boards are better off replaced.
Pro tip: Do the "coin test"—scrape a coin along the surface. If it cuts through the finish, your floor likely needs sanding.
What Tools & Materials Do You Need?
You don’t need a professional setup, but here’s what you'll need:
For the main sanding:
-
Orbital floor sander (rentable at hardware stores)
-
Sandpaper discs (multiple grits: coarse, medium, fine)
-
Edge sander (for corners & walls)
For detail work:
-
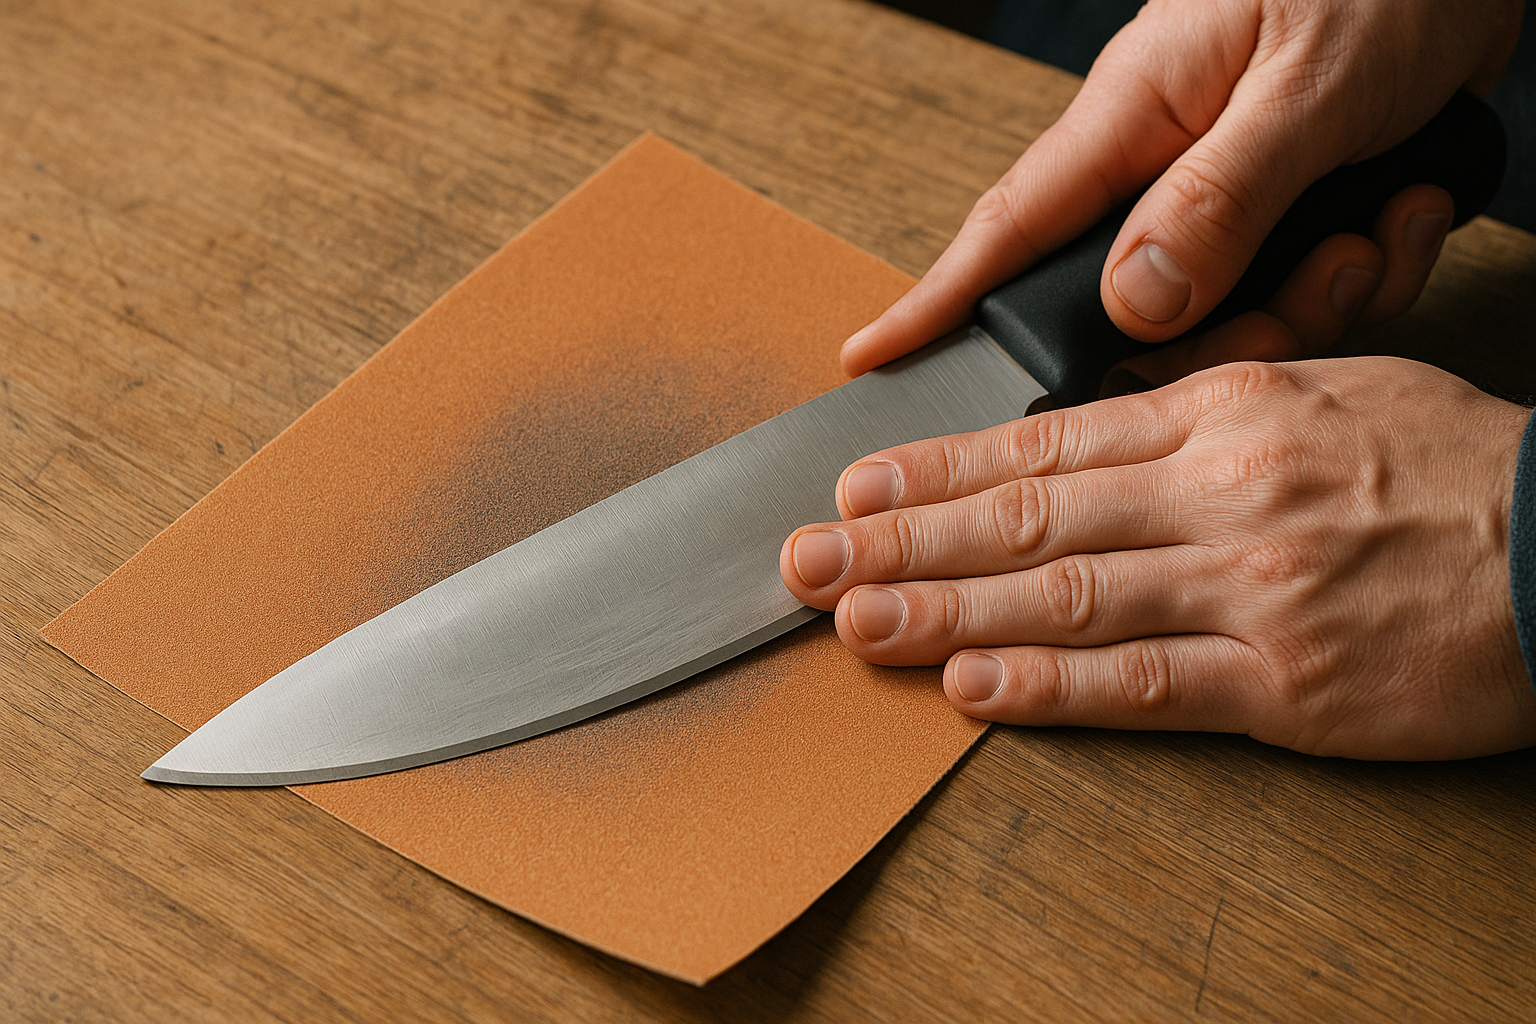
Aluminum oxide sandpaper (for hand sanding and edges)
Other essentials:
-
Shop vacuum
-
Tack cloths
-
Wood filler
-
Polyurethane finish (water- or oil-based)
-
Paint roller or floor finish applicator
Step-by-Step: How to Refinish Your Hardwood Floor
1. Clear & Clean the Room
Remove furniture, rugs, and baseboards if needed. Vacuum thoroughly, as the floor must be clean before sanding begins.
2. First Sanding Pass: Strip the Old Finish
Use coarse-grit sandpaper (36–40 grit) to remove the old finish and level uneven areas. This pass requires a powerful machine and heavy-duty sanding discs.
3. Edge and Corner Sanding
Use an edge sander or hand sander to reach along walls and into corners. This is where a high-efficiency sandpaper, like one with an aluminum oxide abrasive, helps with cutting and prevents clogging. For tight spaces, a compact hand sander is ideal.
4. Second Sanding Pass: Smooth It Out
Switch to a medium grit (60–80) and repeat the sanding process. This evens out the floor and removes deep scratches from the first pass. Don’t forget to re-do the edges and corners with a matching grit.
5. Final Sanding Pass: Prep for Finish
Finish off with fine-grit sandpaper (100–120). This preps the wood to absorb the finish evenly and gives you that smooth, professional-level surface.
6. Vacuum & Tack
Vacuum thoroughly, then go over the entire floor with tack cloths to remove every trace of dust. Don’t skip this step—dust can ruin the final finish.
7. Apply Your Finish
This final step brings your floor to life, but it requires patience and care. The finish you choose will determine your floor's final look and durability.
Choosing the Right Finish
-
Oil-Based Polyurethane: This finish gives wood a warm, amber glow that deepens over time. It's known for being very durable, but it has a strong odor and a long drying time (often 8-10 hours per coat).
-
Water-Based Polyurethane: This option is clear and dries quickly (in about 2-4 hours), leaving the natural color of your wood intact. It has a low odor, which is great for indoor projects. While modern water-based finishes are very tough, some may not be as durable as their oil-based counterparts.
Applying the First Coat
Before you begin, read the manufacturer's instructions on the can, as drying times and application methods can vary.
-
Stir, don't shake: Gently stir the finish with a paint stick. Shaking it creates bubbles, which can dry in the finish and leave a bumpy texture.
-
Use the right applicator: A long-handled roller or a purpose-built floor finish applicator pad works best for large areas.
-
Work in sections: Starting in a far corner and working your way back towards the exit, apply a thin, even coat of the finish. Always work with the wood grain, overlapping your passes slightly to avoid lines.
-
Let it dry: Allow the first coat to dry completely according to the manufacturer's instructions. This is crucial—don't rush it! The floor should feel dry and not tacky to the touch.
Sanding Between Coats
This step, often called "screening" or "abrasion," is essential for a professional result. It creates a smooth surface for the next coat to adhere to.
-
Use ultra-fine sandpaper: Lightly sand the entire floor with 220+ grit sandpaper. The goal isn't to remove the finish, but to gently scuff the surface.
-
Clean thoroughly: After sanding, vacuum up all the dust and wipe the floor with a tack cloth one last time. Any dust left behind will be sealed into your next coat.
Applying Subsequent Coats
Repeat the application and drying process for the second and third coats. Most floors need 2–3 coats for full protection. The final coat should be left to cure for several days before you move furniture back and resume normal use. This gives the finish time to harden completely.
Final Tips for Beginners
-
Always sand with the wood grain.
-
Change sandpaper frequently to avoid burn marks.
-
Wear safety goggles, a dust mask, and ear protection.
-
Take your time, especially during sanding and cleaning.
Refinishing hardwood floors might seem intimidating, but it's a project beginners can absolutely tackle. The key is patience, preparation, and the right tools—especially for sanding. Taking the time to do each step correctly will transform your floors and save you money.
At Abrasives Master, we provide high-quality abrasives for everyone. You can buy our ready-to-ship aluminum oxide sandpaper for detail work. For heavy-duty orbital sanders, we offer custom orders, so just contact us with your machine model.
Continue Reading
What is a Sanding Block Used For: How to Get Perfectly Smooth Results