コンテンツへスキップ

How to Hand Sand a Knife – A Beginner's DIY Guide Using Sanding Discs

Restoring an old knife doesn’t have to be intimidating. With just a few sanding discs and some patience, you can bring dull or rusty blades back to life — no machines, no experience, no workshop needed.
In this guide, we’ll walk you through everything from assessing your knife’s condition to choosing the right tools and sanding it step-by-step. Perfect for beginners, weekend DIYers, or anyone who wants to save an old favorite from the trash.
Step 1: What’s Wrong with Your Knife?
Before you sand anything, look closely at the blade. Not all damage needs the same treatment — understanding what you're working with helps you choose the right sanding approach.
1. Light Surface Scratches
-
Thin, shallow lines across the blade
-
Usually caused by regular use or cleaning
-
Easy to fix with fine grit sanding discs (600–1000 grit)
2. Rust Spots and Stains
-
Orange or brown patches on the surface
-
Caused by moisture or acidic foods
-
Start with 320–400 grit to remove
3. Oxidation / Dull Finish
-
Blade looks gray, foggy, or uneven
-
Common on carbon steel knives
-
Medium grit (400–600) can refresh the look
4. Deep Scratches and Grooves
-
Visible lines or dents in the metal
-
Often from improper sharpening or hard use
-
Start with coarse grit (120–240), then work finer
5. Heavy Rust / Pitting
-
Rust has penetrated the surface, with texture or tiny holes
-
May not be fully reversible, but can be smoothed
-
Start with 80–120 grit and be patient
Tip: If you’re unsure, begin with a medium grit (e.g. 400), test a small area, then adjust.
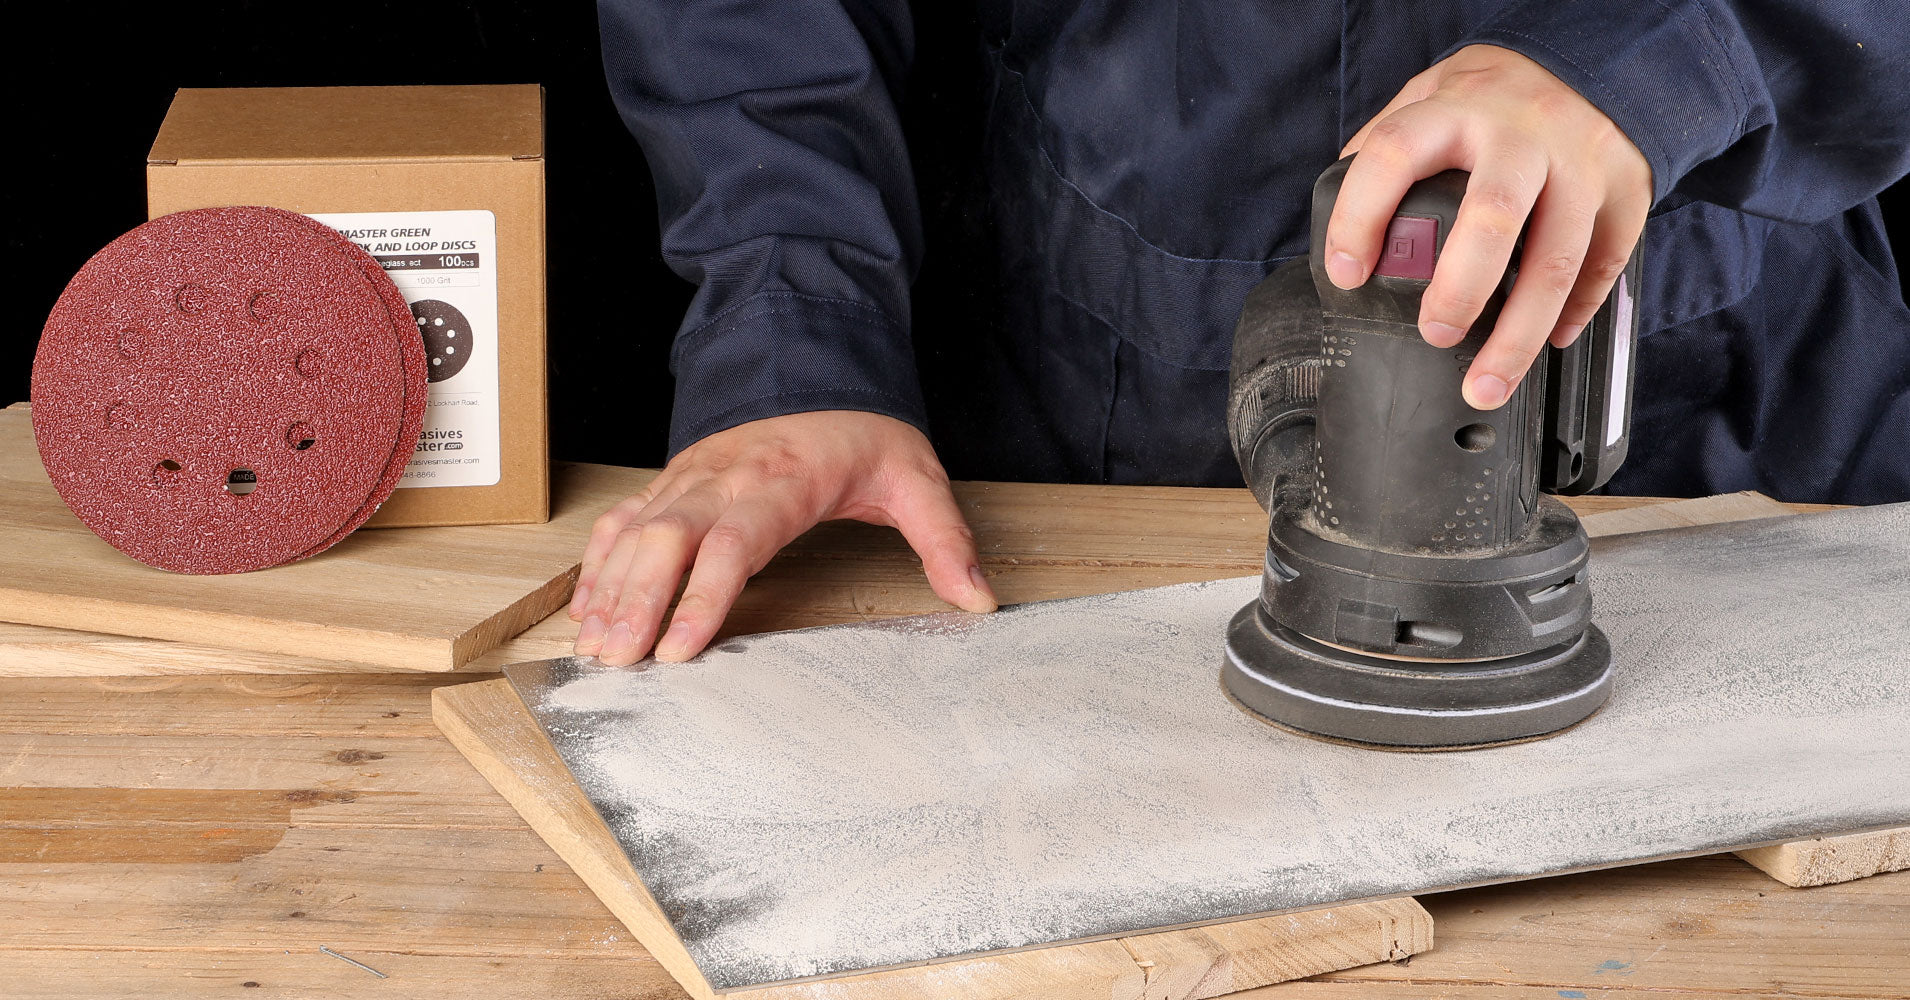
Step 2: What You’ll Need
Don’t worry — you don’t need fancy tools. Here’s what you should prepare:
Tools & Supplies:
-
A set of sanding discs in various grits
-
A sanding block or flat object (wood, rubber, cork)
-
Clean water (for wet sanding)
-
Soft cloth or paper towel
-
Optional: gloves, tape to protect non-blade areas
Step 3: Understanding Sanding Disc Materials
Sanding discs come in different materials — the right choice makes sanding easier and faster.
| Material | Best For | Features |
|---|---|---|
| Aluminum Oxide | Light sanding, sharpening touch-ups | Affordable and versatile |
| Silicon Carbide | Metal, rust removal, wet sanding | Sharp, fast-cutting, resists clogging |
| Ceramic | Aggressive grinding, hardened steels | Long-lasting, more professional |
For hand sanding a kinfe, silicon carbide sanding discs are ideal. They work well wet or dry, especially on metal.
Step 4: How to Hand Sand a Knife – Step-by-Step
Now let’s get to work.
1. Clean the Blade
Remove dirt, grease, or loose rust with a cloth. You want a clean surface before sanding.
2. Start with the Right Grit
Based on the damage you saw earlier, choose a starting grit:
-
80–240: heavy rust or scratches
-
320–600: light rust, dullness
-
800–2000: polishing and finishing
Wrap the sanding discs around a sanding block or fold it in your hand. Keep it flat and apply gentle, even pressure.
👉 Sand along the length of the blade, not across. This helps maintain a clean, straight grain pattern.
3. Use Water for Better Results
Dip the sanding disc in water or sprinkle water on the blade. Wet sanding reduces heat and helps prevent clogging.
Rinse and wipe the blade between grits.
4. Move Up Through the Grits
Don’t rush. Spend a few minutes at each stage:
-
Once scratches are mostly gone with coarse grit,
-
Move up to 600, 1000, even 2000 for a satin or mirror finish.
📝 You’re not just polishing — each grit removes the scratches from the previous one.
5. Optional: Final Polish
If you want a mirror-like shine, finish with a soft cloth and metal polish or even toothpaste. Rub in small circles for 1–2 minutes.
Step 5: Beginner Mistakes to Avoid
Avoid these common traps for a smoother result:
-
❌ Skipping grits (you’ll still see deep scratches)
-
❌ Sanding back and forth in all directions
-
❌ Pressing too hard (causes uneven surface)
-
❌ Using dirty or worn-out sanding discs
-
❌ Forgetting to protect your fingers — tape helps!
Step 6: Need Sanding Discs? We’ve Got You Covered
At Abrasives Master, we’ve specialized in grinding and sanding tools for years — supplying makers, DIYers, and workshops with high-performance abrasives they can count on.
We offer a wide range of sanding disc materials — including aluminum oxide, silicon carbide, ceramic, and more — in grit sizes from coarse 80 all the way up to ultra-fine 3000. Whether you’re removing rust, smoothing edges, or going for a polished finish, you can pick exactly what you need — no bundles, no waste.
✅ Professional-grade quality
✅ Multiple sizes and backings available
✅ Perfect for knives, tools, wood, metal, and more
👉 Browse sanding discs by material or grit →
Final Thoughts
Hand sanding a knife may seem tricky at first, but it’s surprisingly beginner-friendly — especially with the right sanding discs. Whether you’re restoring a rusty kitchen blade or polishing your favorite pocket knife, this simple process brings real satisfaction and great results.
Give it a try — your knife (and your future DIY confidence) will thank you.
Continue Reading

Refinishing Hardwood Floors for Beginners